Pumpkin Carving
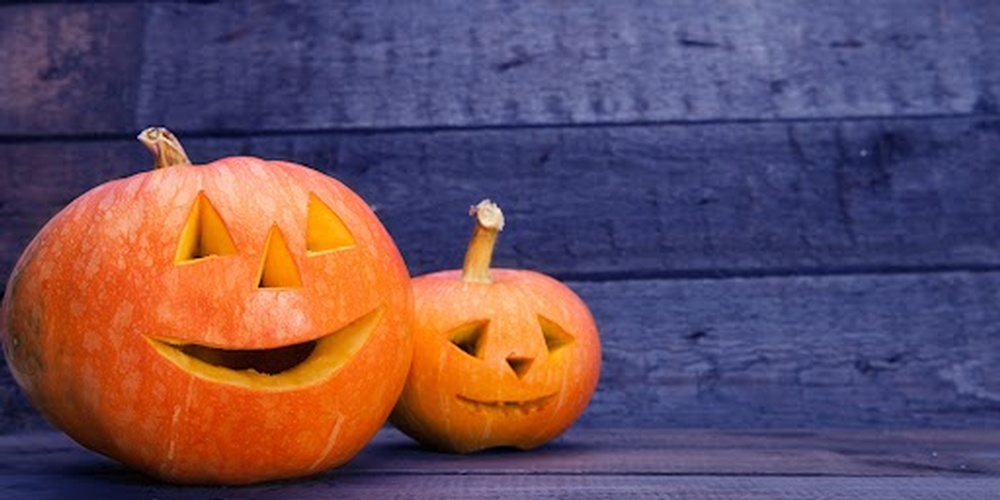
As the leaves change colour and the weather cools down, we reach for our sweaters and scarves. It is also the time to think about the fun tradition of carving pumpkins into Jack-O-Lanterns. A pumpkin can be turned into almost anything.
Here are some basic tips for creating this fall decoration:
- Picking the best pumpkin. When going through the bins of pumpkins at the grocery store or walking through fields in the pumpkin patches, looks for pumpkins that have a sturdy stem with no bruises and that has a flat bottom so it won’t roll away.
- Cut out the bottom, not the top. By cutting a hole in the bottom instead of the top you will have the stem intact and this will prevent the sides from caving in later. This will also make it easier to put the light inside. Set a battery-operated tea light on the cut out bottom and place the pumpkin on top.
- If you prefer to cut the hole in the top then cut it at an angle. This will prevent the lid from falling inside when you put it back in like it would if it is a straight up-and-down cut.
- Scoop out the seeds and pulp. Use a pumpkin scraper that can be purchased in carving kits or up use a large spoon or ice cream scoop. Scrape the inner wall where the face of the jack-o-lantern will be to about 1 ¼ inches thick. This will make it easier to pierce the shell.
- Sketch out your design on paper first. Tape it to the front of the pumpkin and use a fork or pencil to poke holes along the lines of the design you want to carve.
- Start with simple rough cuts. Get the large piece of pumpkin out the way first and then go back and clean up the design edges after.
- Use the scraps in creative ways. Adding a tongue, hair or other accessories out of discarded pieces of pumpkin shell.
- Roast the seeds. Look for recipes for roasting the seeds and you will have a tasty fall snack.